Flutter
Flutter - BoxDecoration 만들기 [9]
YunSeYeong
2021. 1. 16. 16:53
728x90
반응형
1. color
색깔을 지정할 수 있다.

class MainPage extends StatelessWidget {
@override
Widget build(BuildContext context) {
return Scaffold(
body: Center(
child: Container(
height: 150,
width: 150,
alignment: Alignment.center,
decoration: BoxDecoration(
color: Colors.red,
),
child: Text('Main'),
)
)
);
}
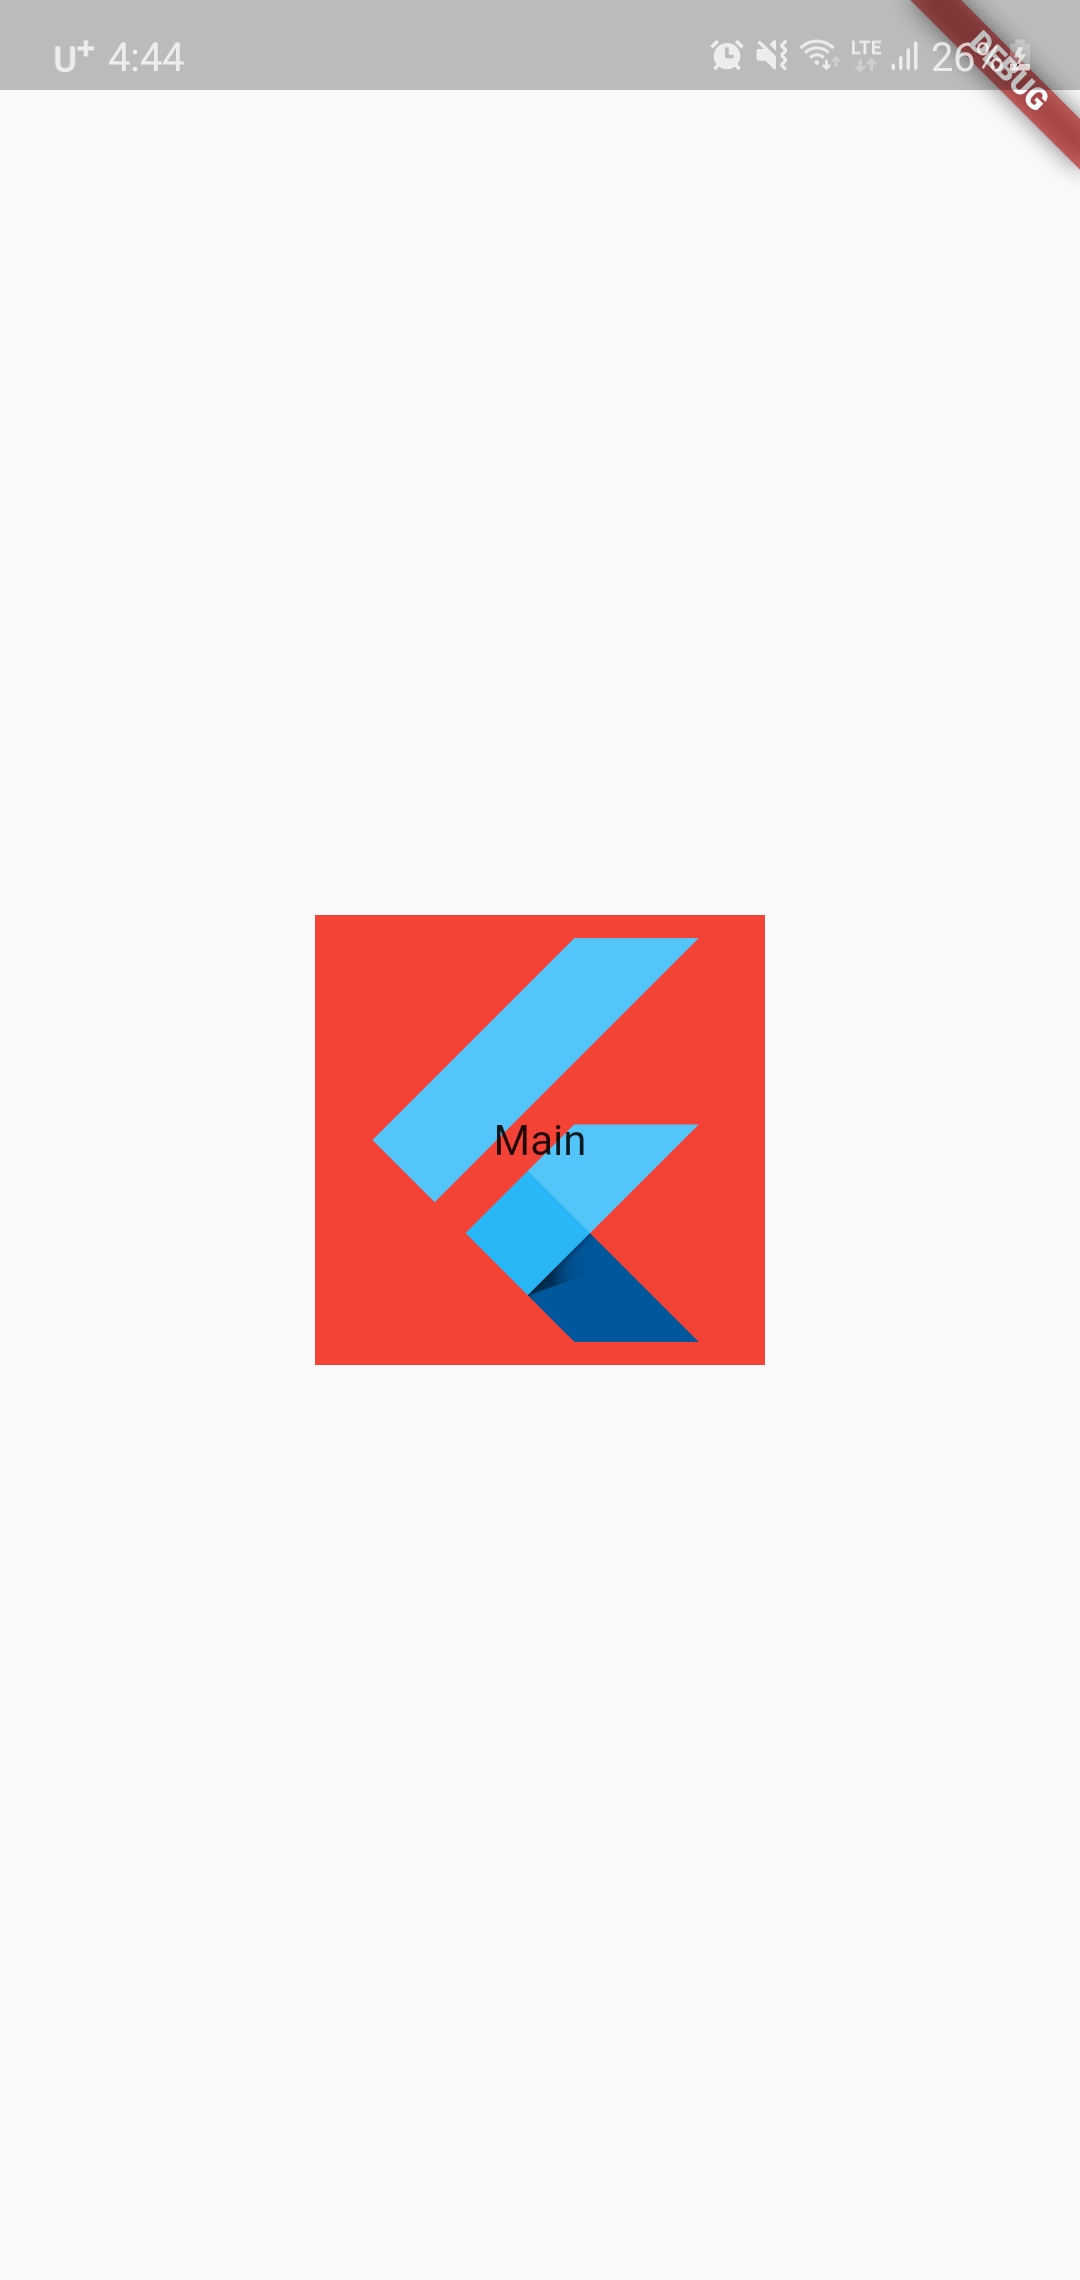
}2. image
이미지를 지정할 수 있다.
class MainPage extends StatelessWidget {
  @override
  Widget build(BuildContext context) {
    return Scaffold(
        body: Center(
            child: Container(
              height: 150,
              width: 150,
              alignment: Alignment.center,
              decoration: BoxDecoration(
                color: Colors.red,
                image: DecorationImage(
                  image: AssetImage(
                    'images/flutter1.png'
                  )
                )
              ),
              child: Text('Main'),
            )
        )
    );
  }
}
3. border
테두리를 지정할 수 있다.

class MainPage extends StatelessWidget {
  @override
  Widget build(BuildContext context) {
    return Scaffold(
        body: Center(
            child: Container(
              height: 150,
              width: 150,
              alignment: Alignment.center,
              decoration: BoxDecoration(
                color: Colors.red,
                border: Border.all(
                  color: Colors.black,
                  style: BorderStyle.solid,
                  width: 10
                )
              ),
              child: Text('Main'),
            )
        )
    );
  }
}
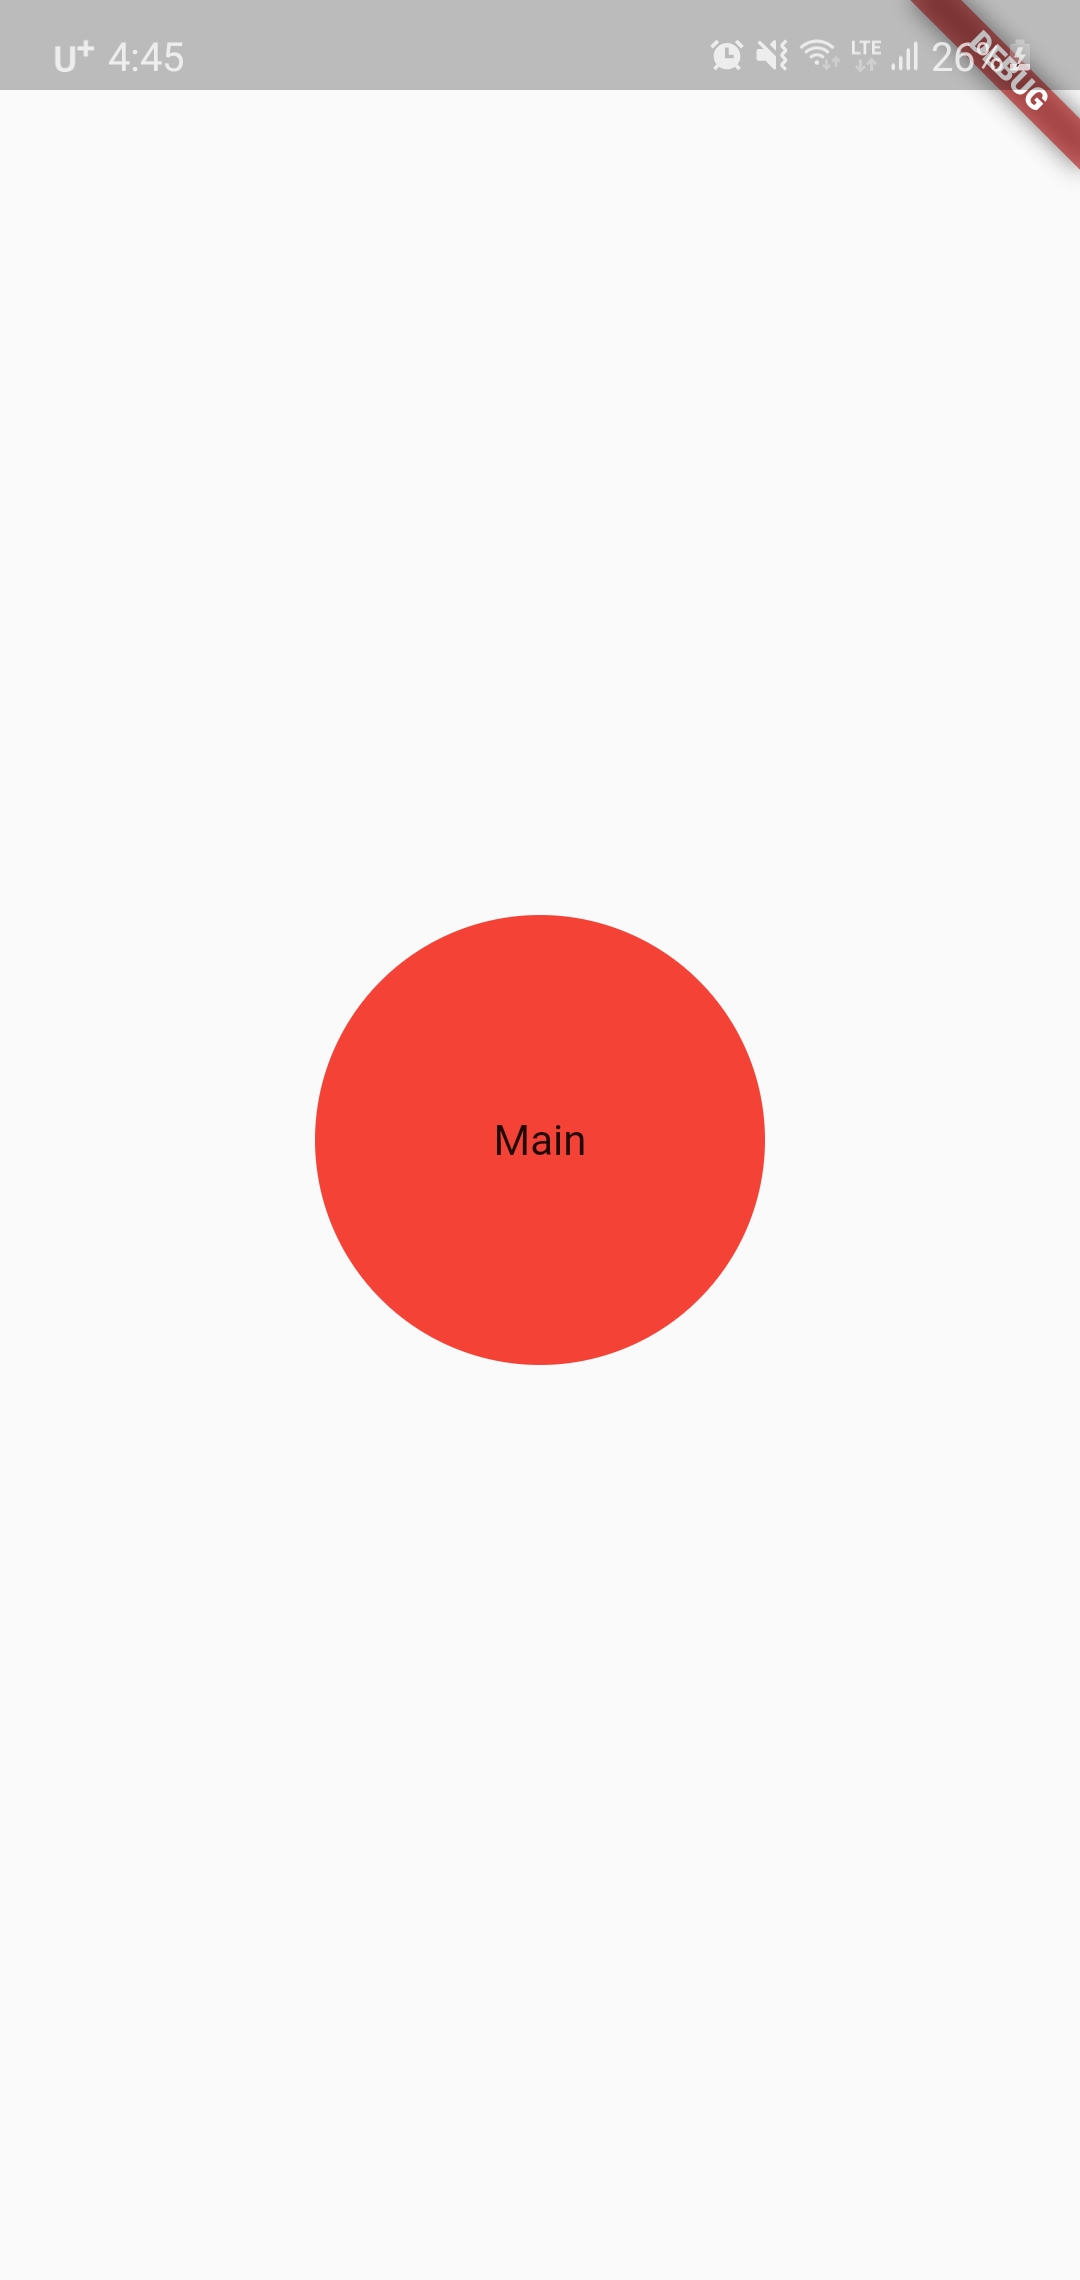
4. shape
모양을 바꿀 수 있다.
class MainPage extends StatelessWidget {
  @override
  Widget build(BuildContext context) {
    return Scaffold(
        body: Center(
            child: Container(
              height: 150,
              width: 150,
              alignment: Alignment.center,
              decoration: BoxDecoration(
                color: Colors.red,
                shape: BoxShape.circle
              ),
              child: Text('Main'),
            )
        )
    );
  }
}
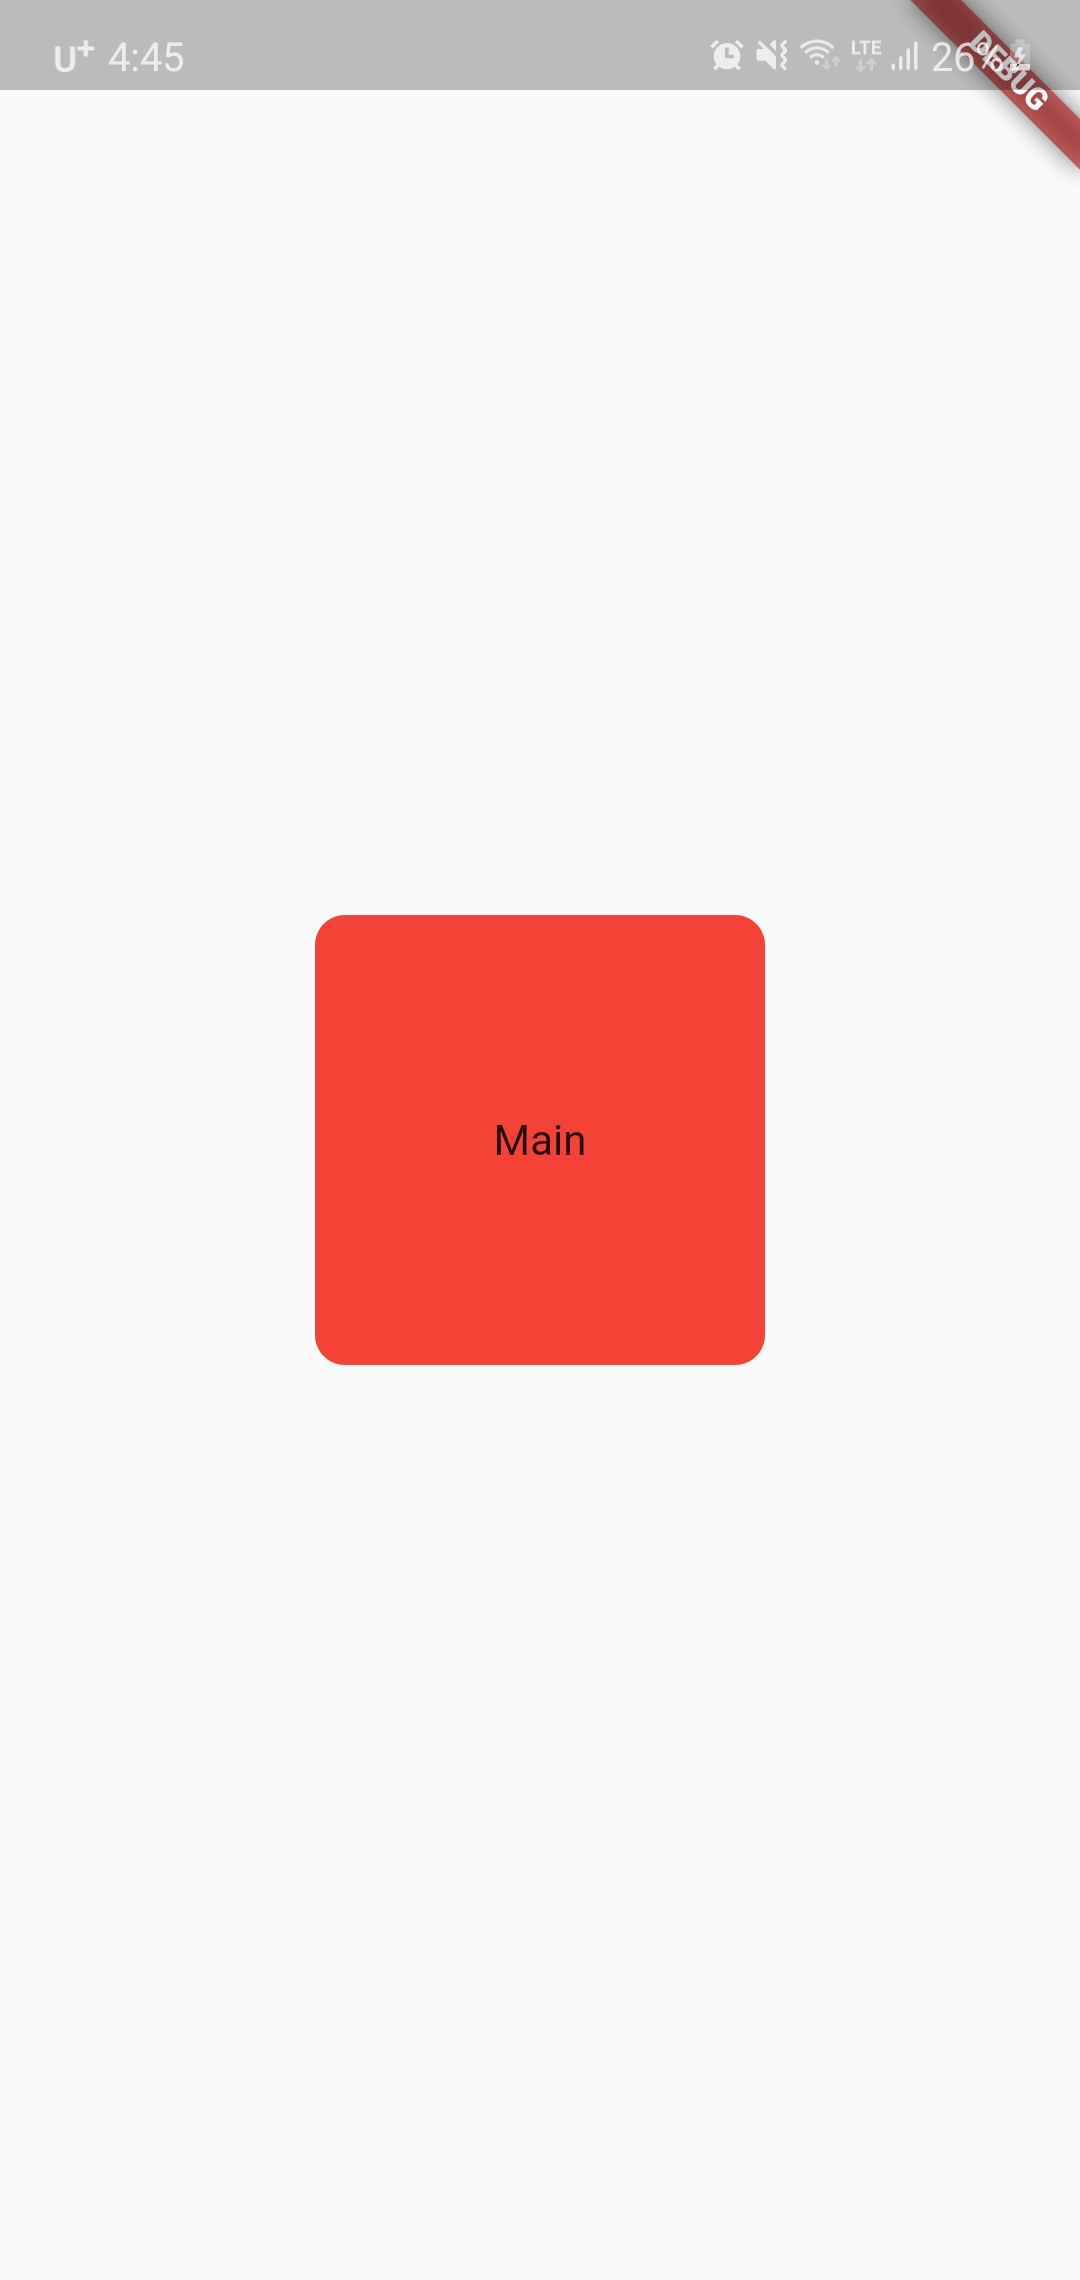
5. borderRadius
테두리를 둥글게 할 수 있다.
class MainPage extends StatelessWidget {
  @override
  Widget build(BuildContext context) {
    return Scaffold(
        body: Center(
            child: Container(
              height: 150,
              width: 150,
              alignment: Alignment.center,
              decoration: BoxDecoration(
                color: Colors.red,
                borderRadius: BorderRadius.circular(10.0)
              ),
              child: Text('Main'),
            )
        )
    );
  }
}
- vertical, horizontal
위아래, 왼쪽오른쪽만 radius를 설정할 수 있다.
borderRadius: BorderRadius.vertical(
	bottom: Radius.circular(10)
)
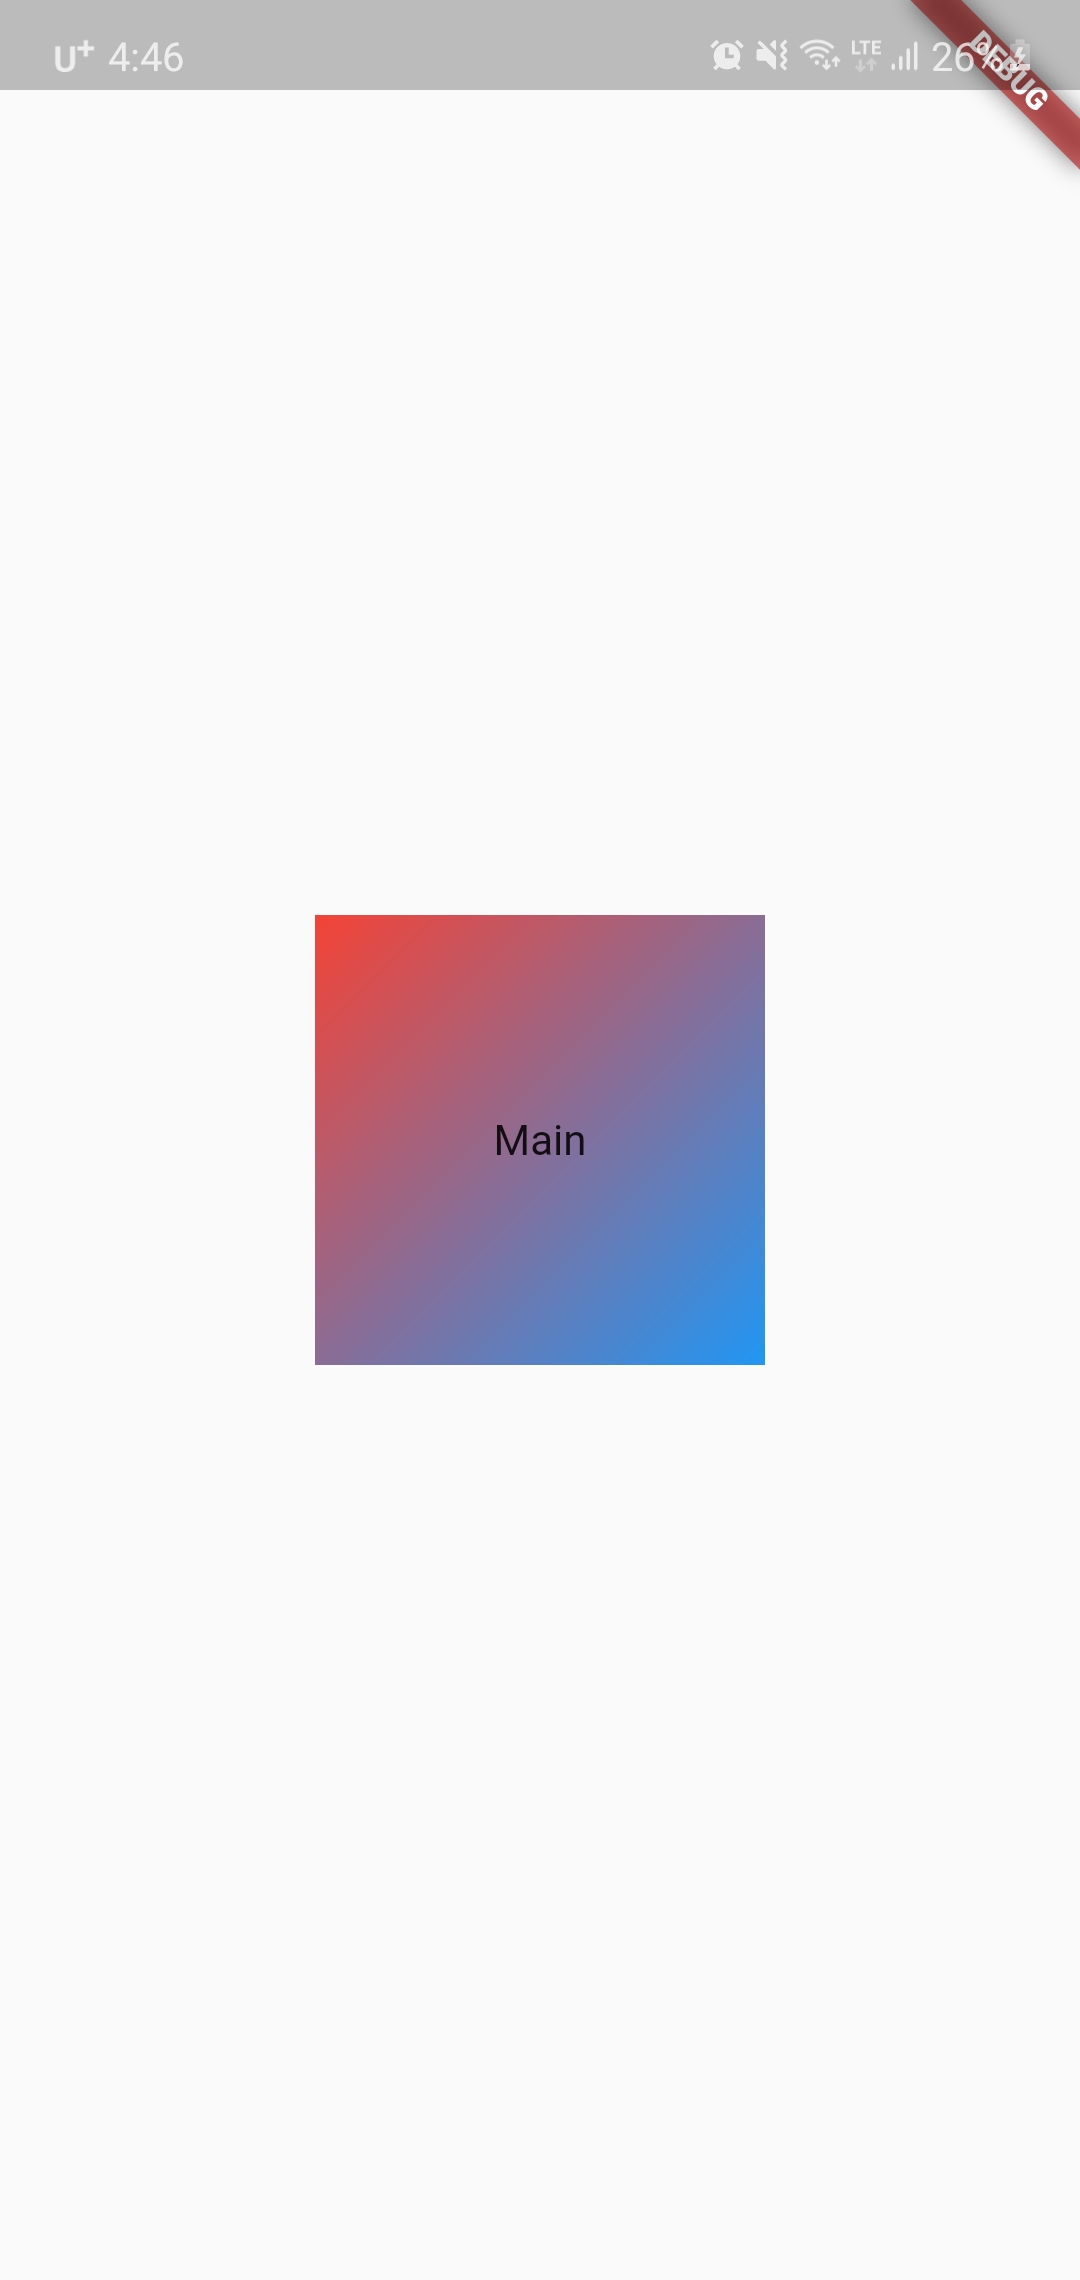
6. gradient
Gradient를 설정한다.
class MainPage extends StatelessWidget {
  @override
  Widget build(BuildContext context) {
    return Scaffold(
        body: Center(
            child: Container(
              height: 150,
              width: 150,
              alignment: Alignment.center,
              decoration: BoxDecoration(
                color: Colors.red,
                gradient: LinearGradient(
                  begin: Alignment.topLeft,
                  end: Alignment.bottomRight,
                  colors: [
                    Colors.red,
                    Colors.blue,
                  ]
                )
              ),
              child: Text('Main'),
            )
        )
    );
  }
}
- 색깔과 위치를 더 지정할 수 있다.
colors: [
  Colors.red,
  Colors.yellow,
  Colors.green,
  Colors.blue,
],
stops: [0.1, 0.4, 0.6, 0.9]
7. boxShadow
네모모양의 그림자를 여러개 넣을 수 있다.

class MainPage extends StatelessWidget {
  @override
  Widget build(BuildContext context) {
    return Scaffold(
        body: Center(
            child: Container(
      height: 150,
      width: 150,
      alignment: Alignment.center,
      decoration: BoxDecoration(
        color: Colors.red,
        boxShadow: [
          BoxShadow(
            color: Colors.grey,
            blurRadius: 5.0,
            spreadRadius: 3.0,
          ),
        ],
      ),
      child: Text('Main'),
    )));
  }
}
- 그림자의 위치를 수정 할 수 있다.
boxShadow: [
  BoxShadow(
      color: Colors.grey,
      blurRadius: 5.0,
      spreadRadius: 3.0,
      offset: Offset(
        3,
        3,
      )),
]
8. backgroundBlendMode

이미지에 필터를 적용한다.
https://api.flutter.dev/flutter/dart-ui/BlendMode-class.html
728x90
반응형